LinkedIn is considered the largest social media platform regarding professional exposure. In terms of getting deep professional relationships for gaining more customers, it has left other platforms far behind. That’s why, millions of people use LinkedIn to browse jobs, projects, professional connections, and others.
Undoubtedly, you can browse any section of this platform easily. But you may not be able to secure a job or win a project. Why? It is because you are unable to show your professional skills properly. In this blog, we have summarized the discussion about how to add projects in LinkedIn.
You will be able to learn a step-by-step guide on this topic. By the end, one can learn what this option is and why they should use it for better exposure. Let’s get started and explore the following sections for a better understanding of the project option on LinkedIn.
What is a Project on LinkedIn?
Normally, LinkedIn users think that the project belongs to the job they perform via this platform. Are you one of those users? You are on the wrong side because the LinkedIn project has different meanings. It is a particular section of your profile reserved to showcase your work/projects.
In simple words, you can display your previously done projects in this section to show your professional skills. By using this option, you can show what you have achieved from your skills in any of your projects. It can be related to your past job, business, or project.
Simply, we can say that a LinkedIn project is a specific option that can be utilized for showing your portfolio to visitors. It will enable you to show your skills before communicating with anyone. As a result, the profile will give a professional look and attract a visitor strongly.
Benefits of Using the LinkedIn Project Option
In addition to showcasing your work only, you can get multiple benefits from the projects option via LinkedIn. To experience the best results, you should learn the right way how to add projects in LinkedIn which will be discussed later.
Abide by this discussion, here are some benefits you will get by uploading your work to the LinkedIn project. You should read them with attention for having a better idea of every benefit and learn why to use this feature.
Showcase Your Skills
The core benefit of this option is showing your previous work or portfolio. No doubt, you can post your project to the public using LinkedIn’s simple option. But you can’t get the attention of new visitors if they are just visiting your profile.
Most probably, a visitor will only check your profile picture, tagline showing skills, and educational background. So, you will not be able to convert such a visitor because you don’t have work published there.
To let you get more attention, LinkedIn has introduced the feature of projects. It enables you to showcase your past work to the general public. In this way, a visitor won’t have to check your post for learning about your skills.
When someone will browse your profile, the projects will be shown clearly on their devices. In turn, they can easily check your past work and estimate what level of skills you have.
Attract Recruiters
Do you know why recruiters leave your LinkedIn profile? It is because you may not have shared work showing your professional skills. As this platform has millions of job seekers, it is easy for a recruiter to quit a profile and move to another with professional work showcasing.
Being a job seeker, you must be looking to stop recruiters at your profile and get interviewed. For this purpose, you should complete the project sections of your profile. If you don’t know how to do so, you should keep reading this blog till the end as we will show you how to add projects in LinkedIn.
Push Profile Ranking
It is obvious that profiles having professional skills mentioned will get a better push in the ranking. More than a million writers are available on LinkedIn, do you see all of those when searching for a content writer?
Absolutely not because only a few of those are ranking higher in the results and showing on your screen. Have you ever thought about how to reserve a rank among those profiles? You should complete your LinkedIn profile, optimize it, and fill in every section that you can.
The most important section is the project section on this platform because it shows which level of skills you have. Also, it will help the LinkedIn algorithm understand that you are a professional person looking to expand.
In turn, your profile will be ranked higher in the results made for jobs related to your skills.
Enhance Engagement
Like other social media platforms, LinkedIn also tracks the time spent by visitors on your profile. Depending on the engagement, it will suggest your profile and posts to users who are working in the related field.
To enhance engagement with your profile, you should fill every section of it. The maximum content a user will find on your profile, the maximum time they will spend. In turn, the engagement rate will be higher and the suggestion rate will go up quickly.
Isn’t it good for your LinkedIn profile? But how to do so? You should learn how to add projects in LinkedIn with optimization and complete your profile. It will help you in engaging visitors with your profile for a long time.
A visitor will spend time on your profile while checking your shared documents, images, and videos showcasing your experience.
How to Add Projects in LinkedIn?
Now, you have learned enough about the LinkedIn project and its benefits. It is time to learn the right way to upload a project on your profile and optimize it. Here are some steps that we have taken to optimize our projects on this platform.
Part 1: Add Projects Section to Profile
First of all, you should have to add a projects section to your LinkedIn profile. If you have done this already, you can move to the second step.
But if you haven’t done this, follow these steps to add this section to your profile.
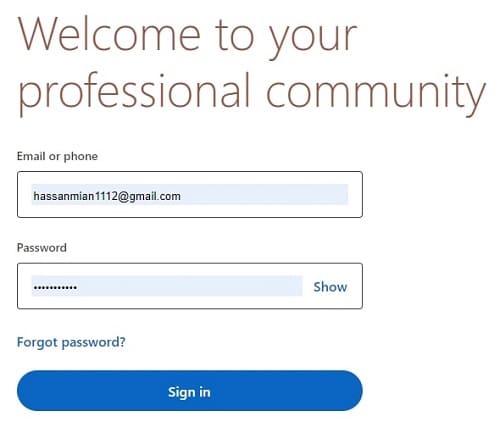
- Login to LinkedIn
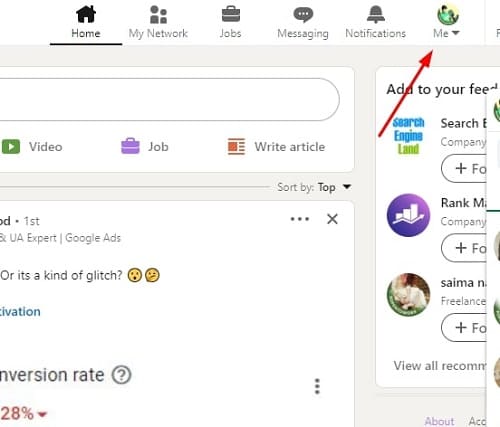
- Click on your profile photo
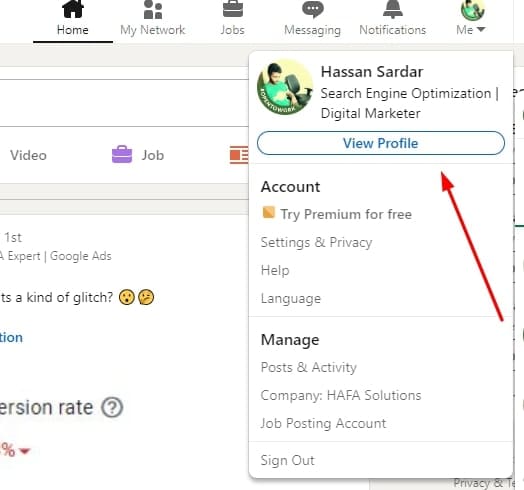
- Tap on View Profile
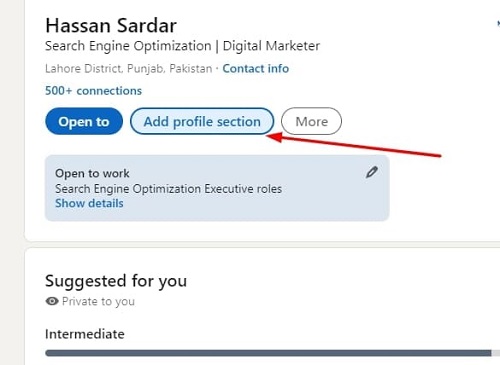
- Now, click on Add Profile Section given just below your profile picture
- You will be able to see an option named “Recommended”
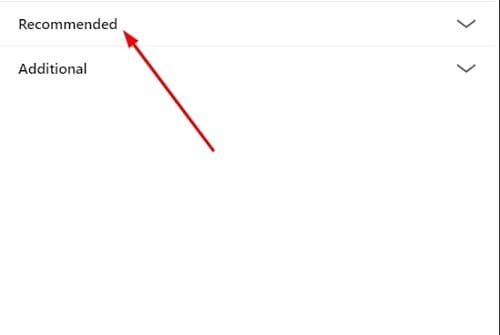
- Tap on that option
- Now, look for the “Add Projects” option available there
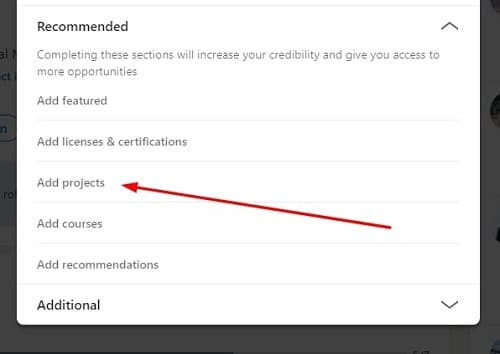
- Click on that option and follow “Part 2” written below
Part 2: Add Project
By following the above steps, you have done with the Add Projects Section step. But you can’t make it visible without uploading one project. Here are the details you need with a brief discussion about them to let you choose and write them properly.
- Project Name
First of all, you should have to add the Project Name in the top box. Keep in mind that the project name must be accurate as well as optimized. It means that you can write your project name by adding some keywords searched for your skill.
For example, if you are an SEO expert and have done off the page of a website, you can write the project title as, “Off-Page SEO | Back linking | Guest Blogging”. All these words represent almost the same skill but you have covered the maximum keywords searched for your skill.
![]()
As a result, your project will be visible to maximum visitors or searchers. It is right to say that writing the project name is the core step that decides whether your project will be ranked or not.
- Project Description
Once you have labeled an optimized name for your project, it is time to write the description. No doubt, you should write what you have been asked to do, what you have done, and what outcomes you have got at the end of the project.
But you can also make it optimized by adding keywords related to your skills naturally in your content. Simply, it is right to say that you should write the truth but in a creative way and with little modification.

In turn, your project description will remain accurate as well as perform well in getting visible when someone searches for your related keywords. Don’t try to merge or expand details as it will let a reader get bored or irritated.
That’s why, you should write what is necessary for a person to know about the project. You can say that it will be an expanded summary of the work you have done for that particular job.
- Skills Used
It is a simple step because you have to mention the skills you have used for completing a project. You can add as many skills as you can that are related to that particular job. An example of the skill selection has been shared above in the very first step of Part 2.
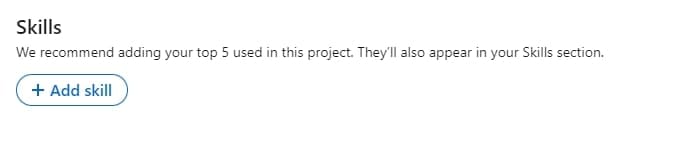
You can read that part to learn how to convert a single skill into multiple ones to share in your project on LinkedIn. It is recommended to add multiple ones because it shows that you are a professional and experienced at the same time.
- Images/Videos
While uploading a project on LinkedIn, you should keep some visual data with you regarding that project. It can either be an image, a screenshot, or a video. Keep in mind that you shouldn’t create an animated video.
But it should be related to your project explaining what you have done and achieved in your project. For example, if you have ranked a website in SERPs, you can share the results taken from a tool showing that the site is ranking in the results.

You can add a picture or a video as per the project requirements and your skills. The only thing that you take care of is the name of the file you are uploading will be the same as the title of the project. It will enable your project’s media to be visible in results along with the title.
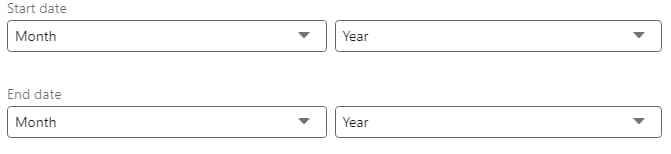
- Duration
In this section, you only have to set the duration of the project. You must add a valid start date and a valid end date for the project. It will be pretty simple because you only have to set the day, month, and year using the dropdown menu shown by clicking on a specific section given on your screen.
- Add Contributors
Don’t forget to add contributors like colleagues, friends, management, or anyone who has helped you with the project. It is because this addition will show how professional you are in giving credit to everyone for their work.

Along with this, it is better to mention the role of the person to explain what they have done in the project. It will help you as well as your colleagues get better opportunities from this platform.
- Select Company/Job & Save
Once you have done with the data insertion related to your project on LinkedIn, it is time to add the company or job in which you have done this. Keep in mind that you have to add a company where you have completed the project before publishing it.
You will not be able to publish a project without selecting a company. So, you should add a company if you haven’t added it yet to the list of companies you have joined.
What Can You Add As a Project to LinkedIn?
There is no restriction over adding material as a project on LinkedIn. You can add anything defining your skills and jobs in this section. For example, you can add blog posts, emails, SEO reports, designs, website templates, resumes, or anything like this to your project on LinkedIn.
The only thing you should care about is the method to follow that we have discussed in terms of how to add projects in LinkedIn. Without proper optimization, you will never be able to get the expected results from this option.
Final Wrapping
In the above sections, we have shared the right way to upload a project on LinkedIn. It might be possible you have learned the right way how to add projects in LinkedIn step by step as we have discussed it in this manner.
For your ease, we have shared the process by splitting it into two major sections. So, you can easily understand both parts shared here before adding projects in LinkedIn.